Project overview
Steps for painting a metal door
1. Decide whether you need to remove the door to paint it
Removing the door and laying it flat will improve your access and minimise any spills or splashes. It also gives you the option to work in a space that’s covered, or away from busy walkways.
However, you do have to consider how long it will take to complete the job and whether you can work without a door in that space during that time.
Working with the door in place means you can space out the stages of painting over hours or days to suit you. It also minimises the risk of damaging the door whilst taking it down or rehanging it.
In most cases, you’ll paint a garage door whilst it stays in the frame. But if you want to know how to paint a metal front door without removing it, we have a few tips:
· Section off your working area and signpost people to use another exit/entrance to minimise disruption.
· Use dust sheets and tape off the surrounding area to avoid any splashes or smudges.
· When your door is prepped and ready to paint, open it and start with the edges first. Open the door at various angles to make sure you catch every spot.
· Once the edges are dry, take a look at the front and back of the door to catch any drips or overspills before you paint the more visible areas.

2. Prepare your door for painting
Next, you need to know how to prepare your metal garage door, or front door, for painting. You can find out more about preparing metal for painting over on our dedicated guide. However, here are the three key things you need to do to ensure your door is prepped properly:
Clean the surface
For this stage, we advise wearing gloves, goggles and a dust mask to protect yourself. Dust sheets will also make cleaning up easier.
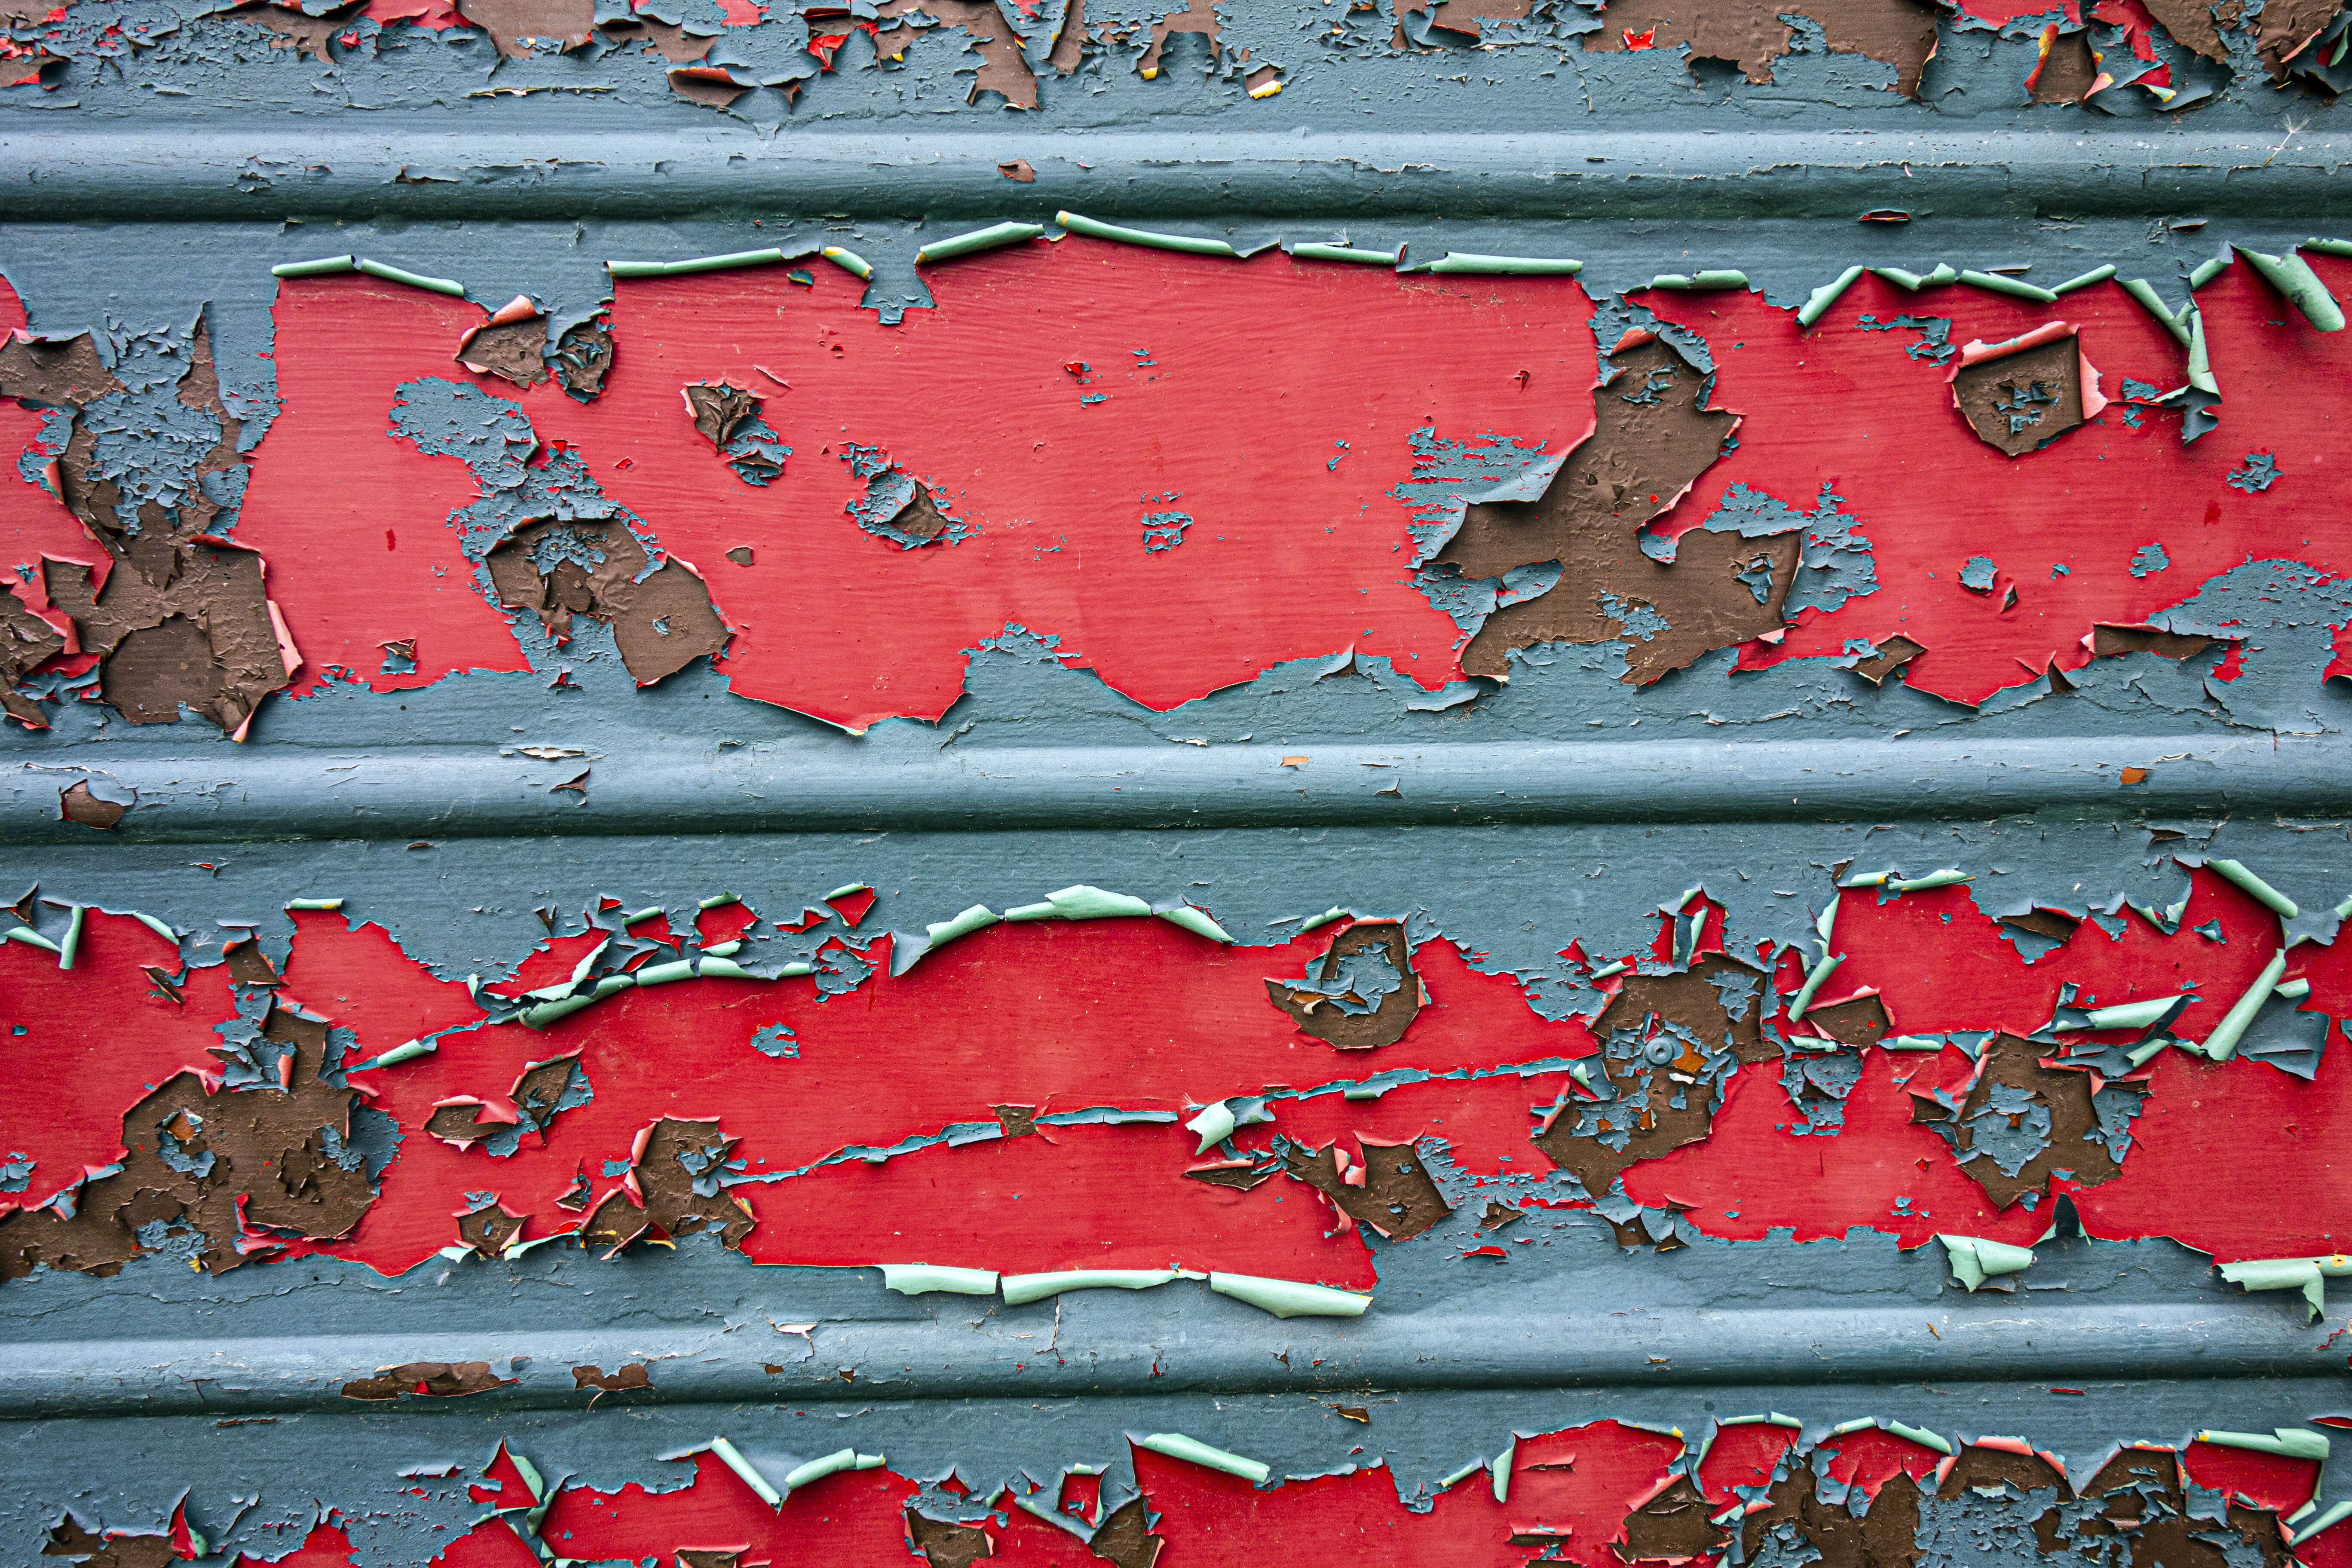
Getting rid of dirt, dust and grease is the first task to take on. You can do this with household detergent, degreaser, sugar soap or even a vinegar and water mix. Lower corners and areas around details and fittings tend to get more clogged, so do give these spots an extra scrub. Any blisters or bubbles in old paint should also be peeled away with a flat scraper and sanded over.
Once the door is dry, you can use sandpaper or wire wool to create a more adhesive surface for your paint. We’d advise using light pressure for this and working in the same direction of any grain effects. You don’t want to create any marks in old paintwork, you just need to give the next application of paint a better grip.
Do be careful when dealing with older paint (applied before the 1960s) as it might contain lead. For tips on removing lead paint, check out our guide on how to remove paint from metal.
When finished, brush the door down and remove any dust from the working area. This is key to keeping your paintwork smooth. Remember, if you don’t get a clean surface your paint will flake later on.
Protect/remove hardware
From doorknobs to glass panelling, you’ll need to take off or tape up any areas of your door that you want to protect from the paint. When removing hardware, follow your manufacturer’s guidance for your fittings and keep any small parts in a secure container ready for later.
Windows, doorsteps, kickplates, door frames and surrounding flooring should also be covered with paper, masking tape or dust sheets. If working outside, it’s also a good idea to ensure your covers are secure. A quick breeze can blow paper or sheets into your paintwork and ruin a fresh finish.
If you’re using masking tape to protect your doorknob, consider leaving a small gap of 1mm or so between the door and the tape. This will help to reduce ‘bridging’ between the tape and the paint, which can leave a messy finish when the tape is removed.
Prime (or save time)
With your door nice and clean, the next step is to coat it with primer. Priming is a key step in getting paint to stick to the metal surface, so it’s important not to miss this.
You should only skip this stage when using efficient, high-quality paint that specifies primer isn’t required, such as Ronseal’s Direct to Metal Paint.
For those who do need to prime, apply your primer as per the manufacturer’s instructions. Coat the entire door using long strokes with a brush in one direction. If you’re painting a garage door, paint the large flat areas first and then work the primer into areas of detail. Apply enough to get an even coating, but not too much as it may pool or drip as it dries.

3. Paint your metal door
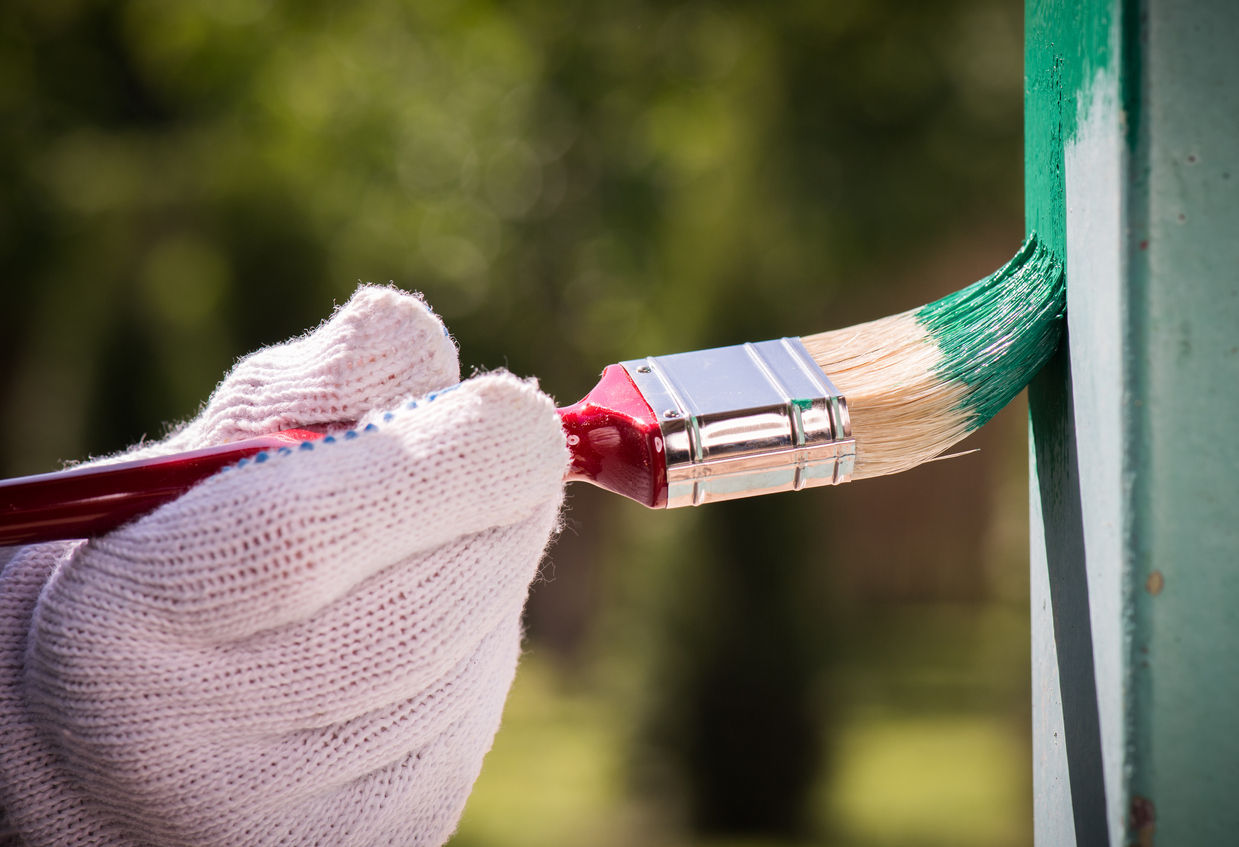
With your door prepared, it’s time to apply your metal paint. Stir the paint for a good two minutes before you apply. Then, start with your edges first and let them dry before you begin the front or back panels.
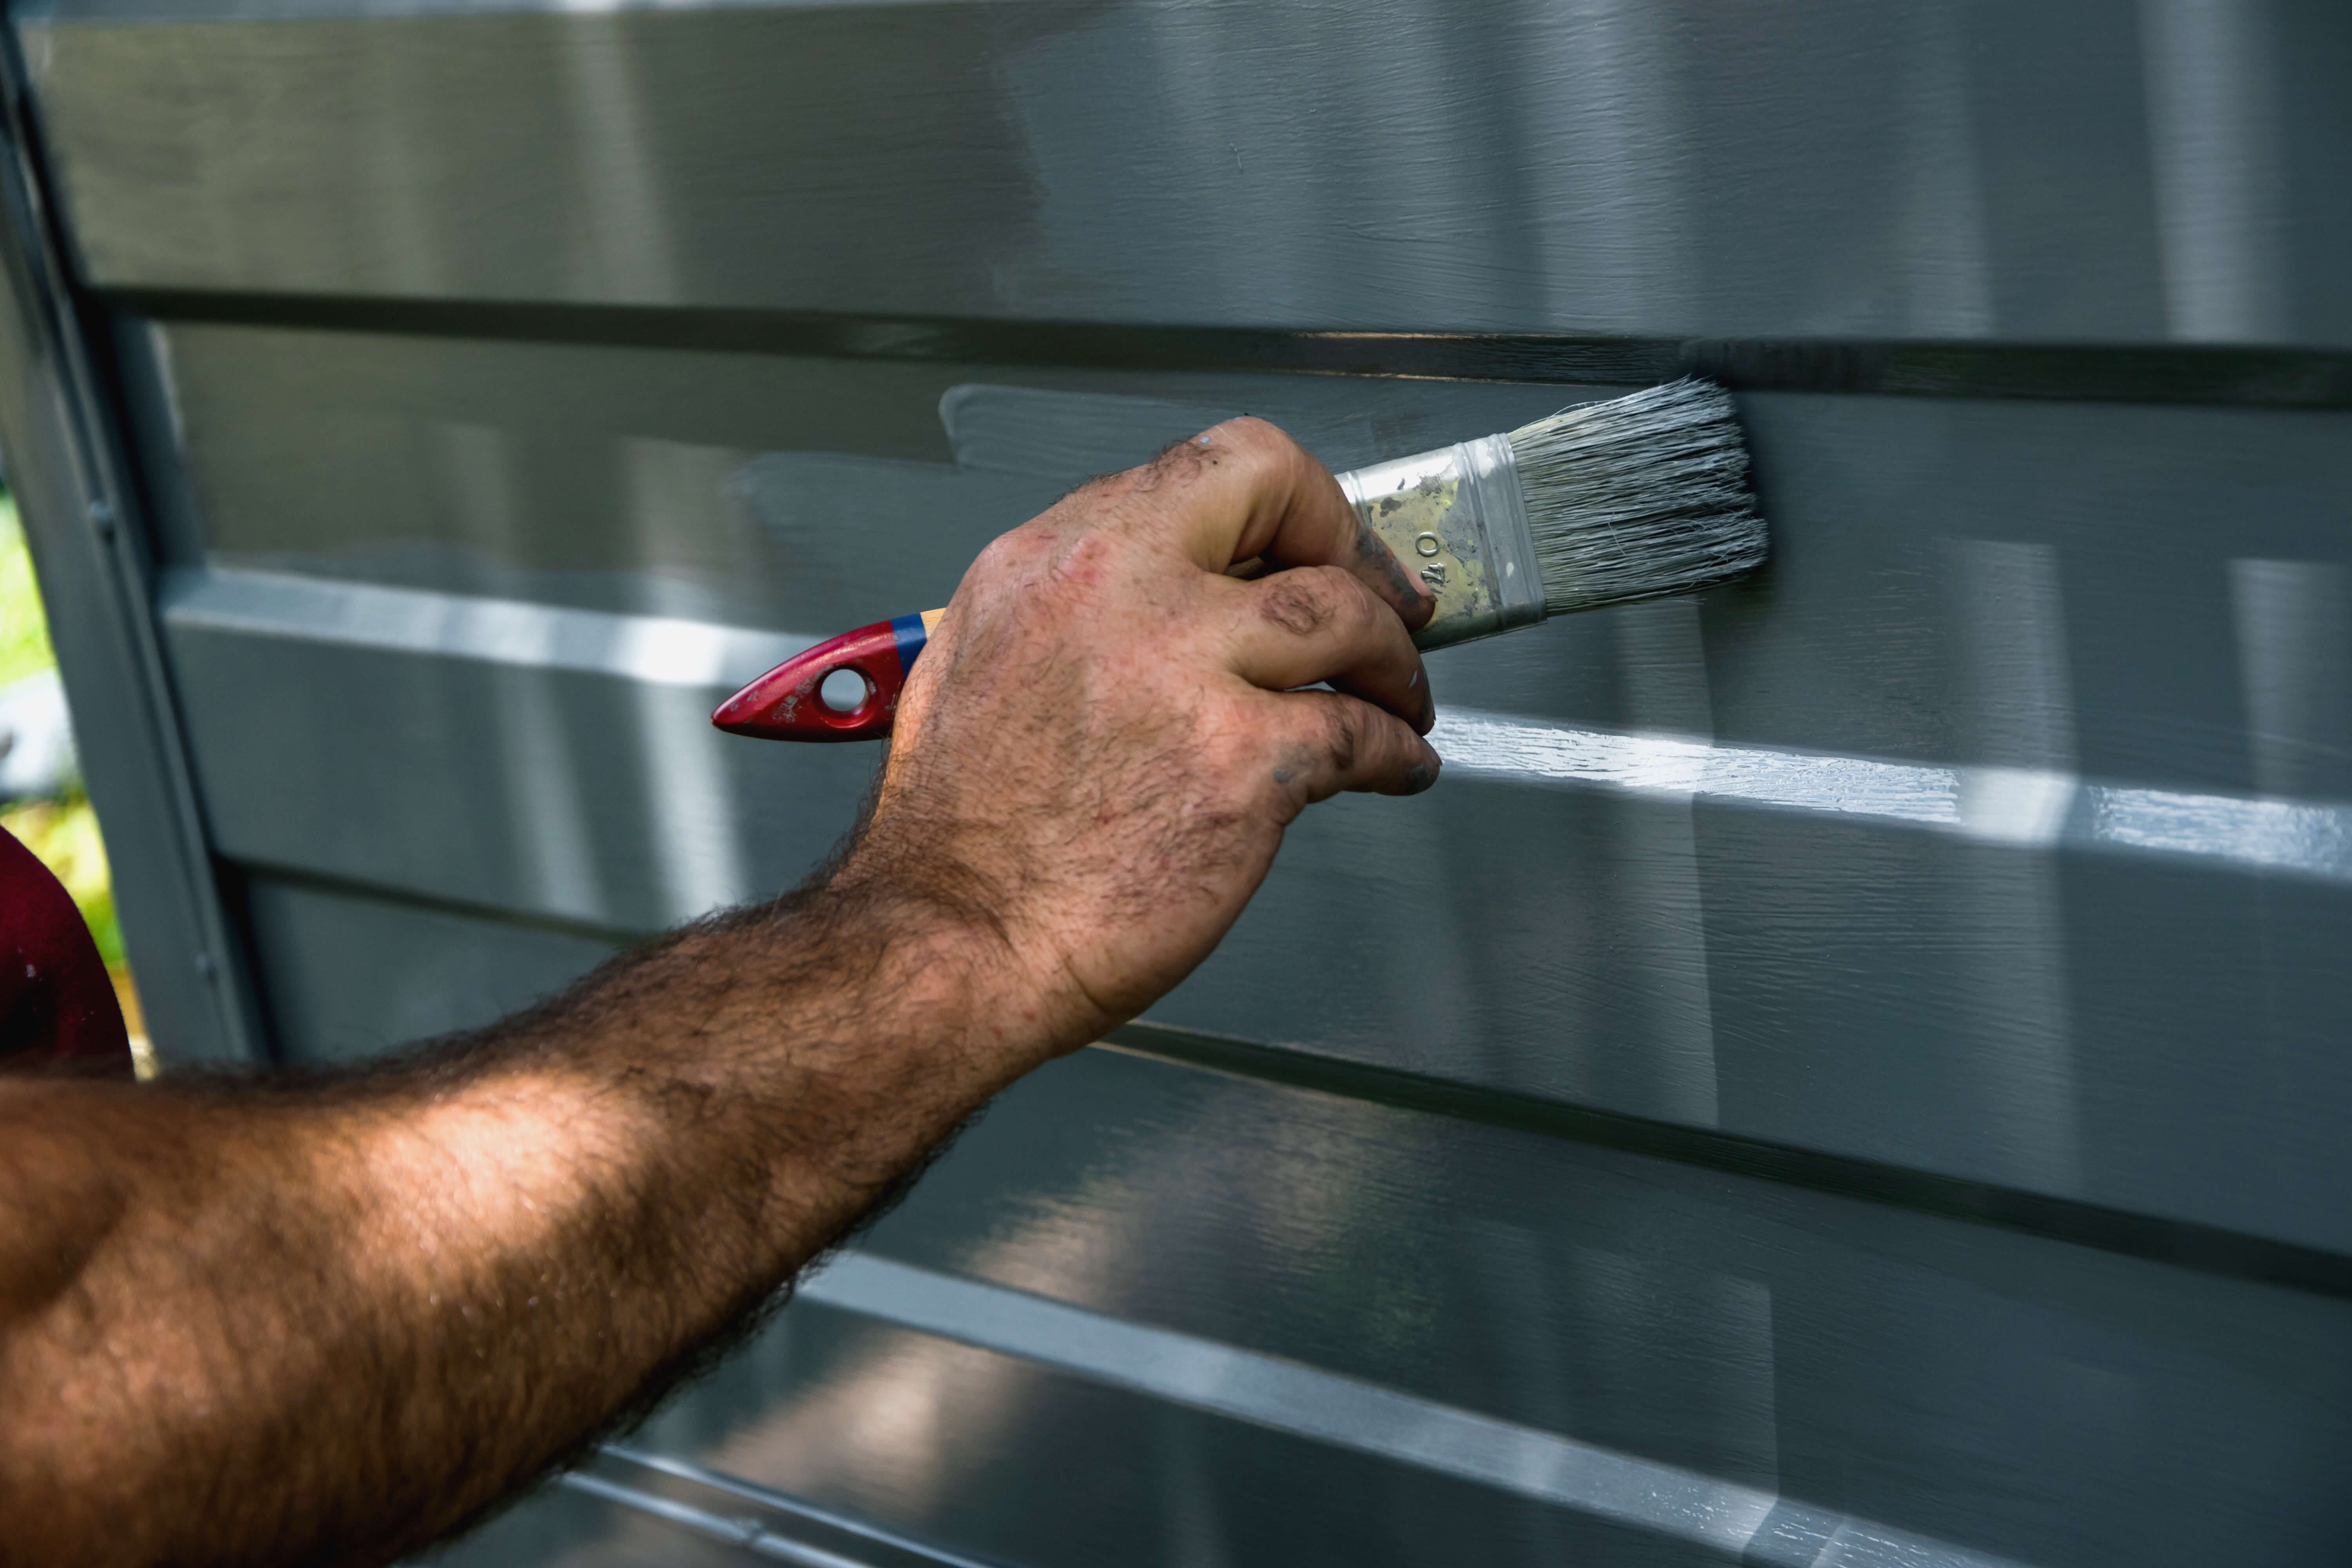
A brush, or small foam applicator, will allow you to get into any grooves, edging or details in the door design. You can then apply paint to panelled or flat areas with a small foam roller to cover them quickly and evenly. If you prefer a brushed finish throughout, you can use a brush for the entire door. Or just apply light strokes to the paintwork after an area has been painted with a roller.
We’d always advise applying two to three coats of your chosen metal paint and remember, each coat should be fully dry before another layer is applied. Drying time will vary depending on the product and painting conditions.
With the paintwork finished and dry, you can reattach hardware, remove the tape and rehang (or close) your new and improved door.
If you’re feeling inspired to update other metal fixtures and fittings, to complete the full look, here’s some more advice to help you along:
How to paint metal doorknobs or handles
The best way to paint metal doorknobs or handles is to remove them from the door. Use the manufacturer’s instructions but, in most cases, there will be two screws on either side of the doorknob that release both sides. You may also want to remove and paint the exposed area of the latch mechanism on your door’s edge and the strike plate from your door frame.
Once all the pieces are removed you should clean the doorknob with soapy water and let it dry. Tape off any internal areas of the doorknob to avoid paint getting into the mechanism.
Next, sand your hardware down to create a better painting surface and then clean it once more to remove any dust or debris. After this, you can prime (where needed) and paint the item with your metal paint. A clear topcoat is also advised for areas, such as doorknobs, that will be handled a lot.
If you chose not to remove the doorknob before you paint it, remember to tape around it.
How to paint a metal door frame
Remove the door, latch plates and any other hardware from the door frame. Next, create a smooth surface for your paint by using a wire brush to get rid of any flakes and finish with sandpaper. Replacing old and dry caulking, or sealant, will also freshen up the frame but this is optional.
Clean the frame with a suitable degreaser, spirit or soapy water. Once dry, you can mask off the areas you want to protect before priming (where necessary) and painting your frame. Starting at the top and working your way to the bottom will help you avoid catching the paint as you go.
How to remove paint from a metal garage door or front entrance
For most metal garage and exterior doors, you should be able to add coats of new paint over the old ones with the right products and preparation. However, if you need to remove the old paint altogether, there’s a variety of options available. From sandpaper to chemical paint stripper, it all depends on the time and money you want to spend on the project.
Again, our guide on how to remove paint from metal should prove helpful if you’re looking for details on the best approach for this.
So, there you have it, our guide on how to paint a metal door (and more). We hope you enjoy your project!
