Project overview
1. Give it a good clean
If your shed is brand new, then luckily for you, you can skip this stage! If you’re one of the many with a shed that’s stood the test of time (and weather) you’ll need to grab your cleaning gear.
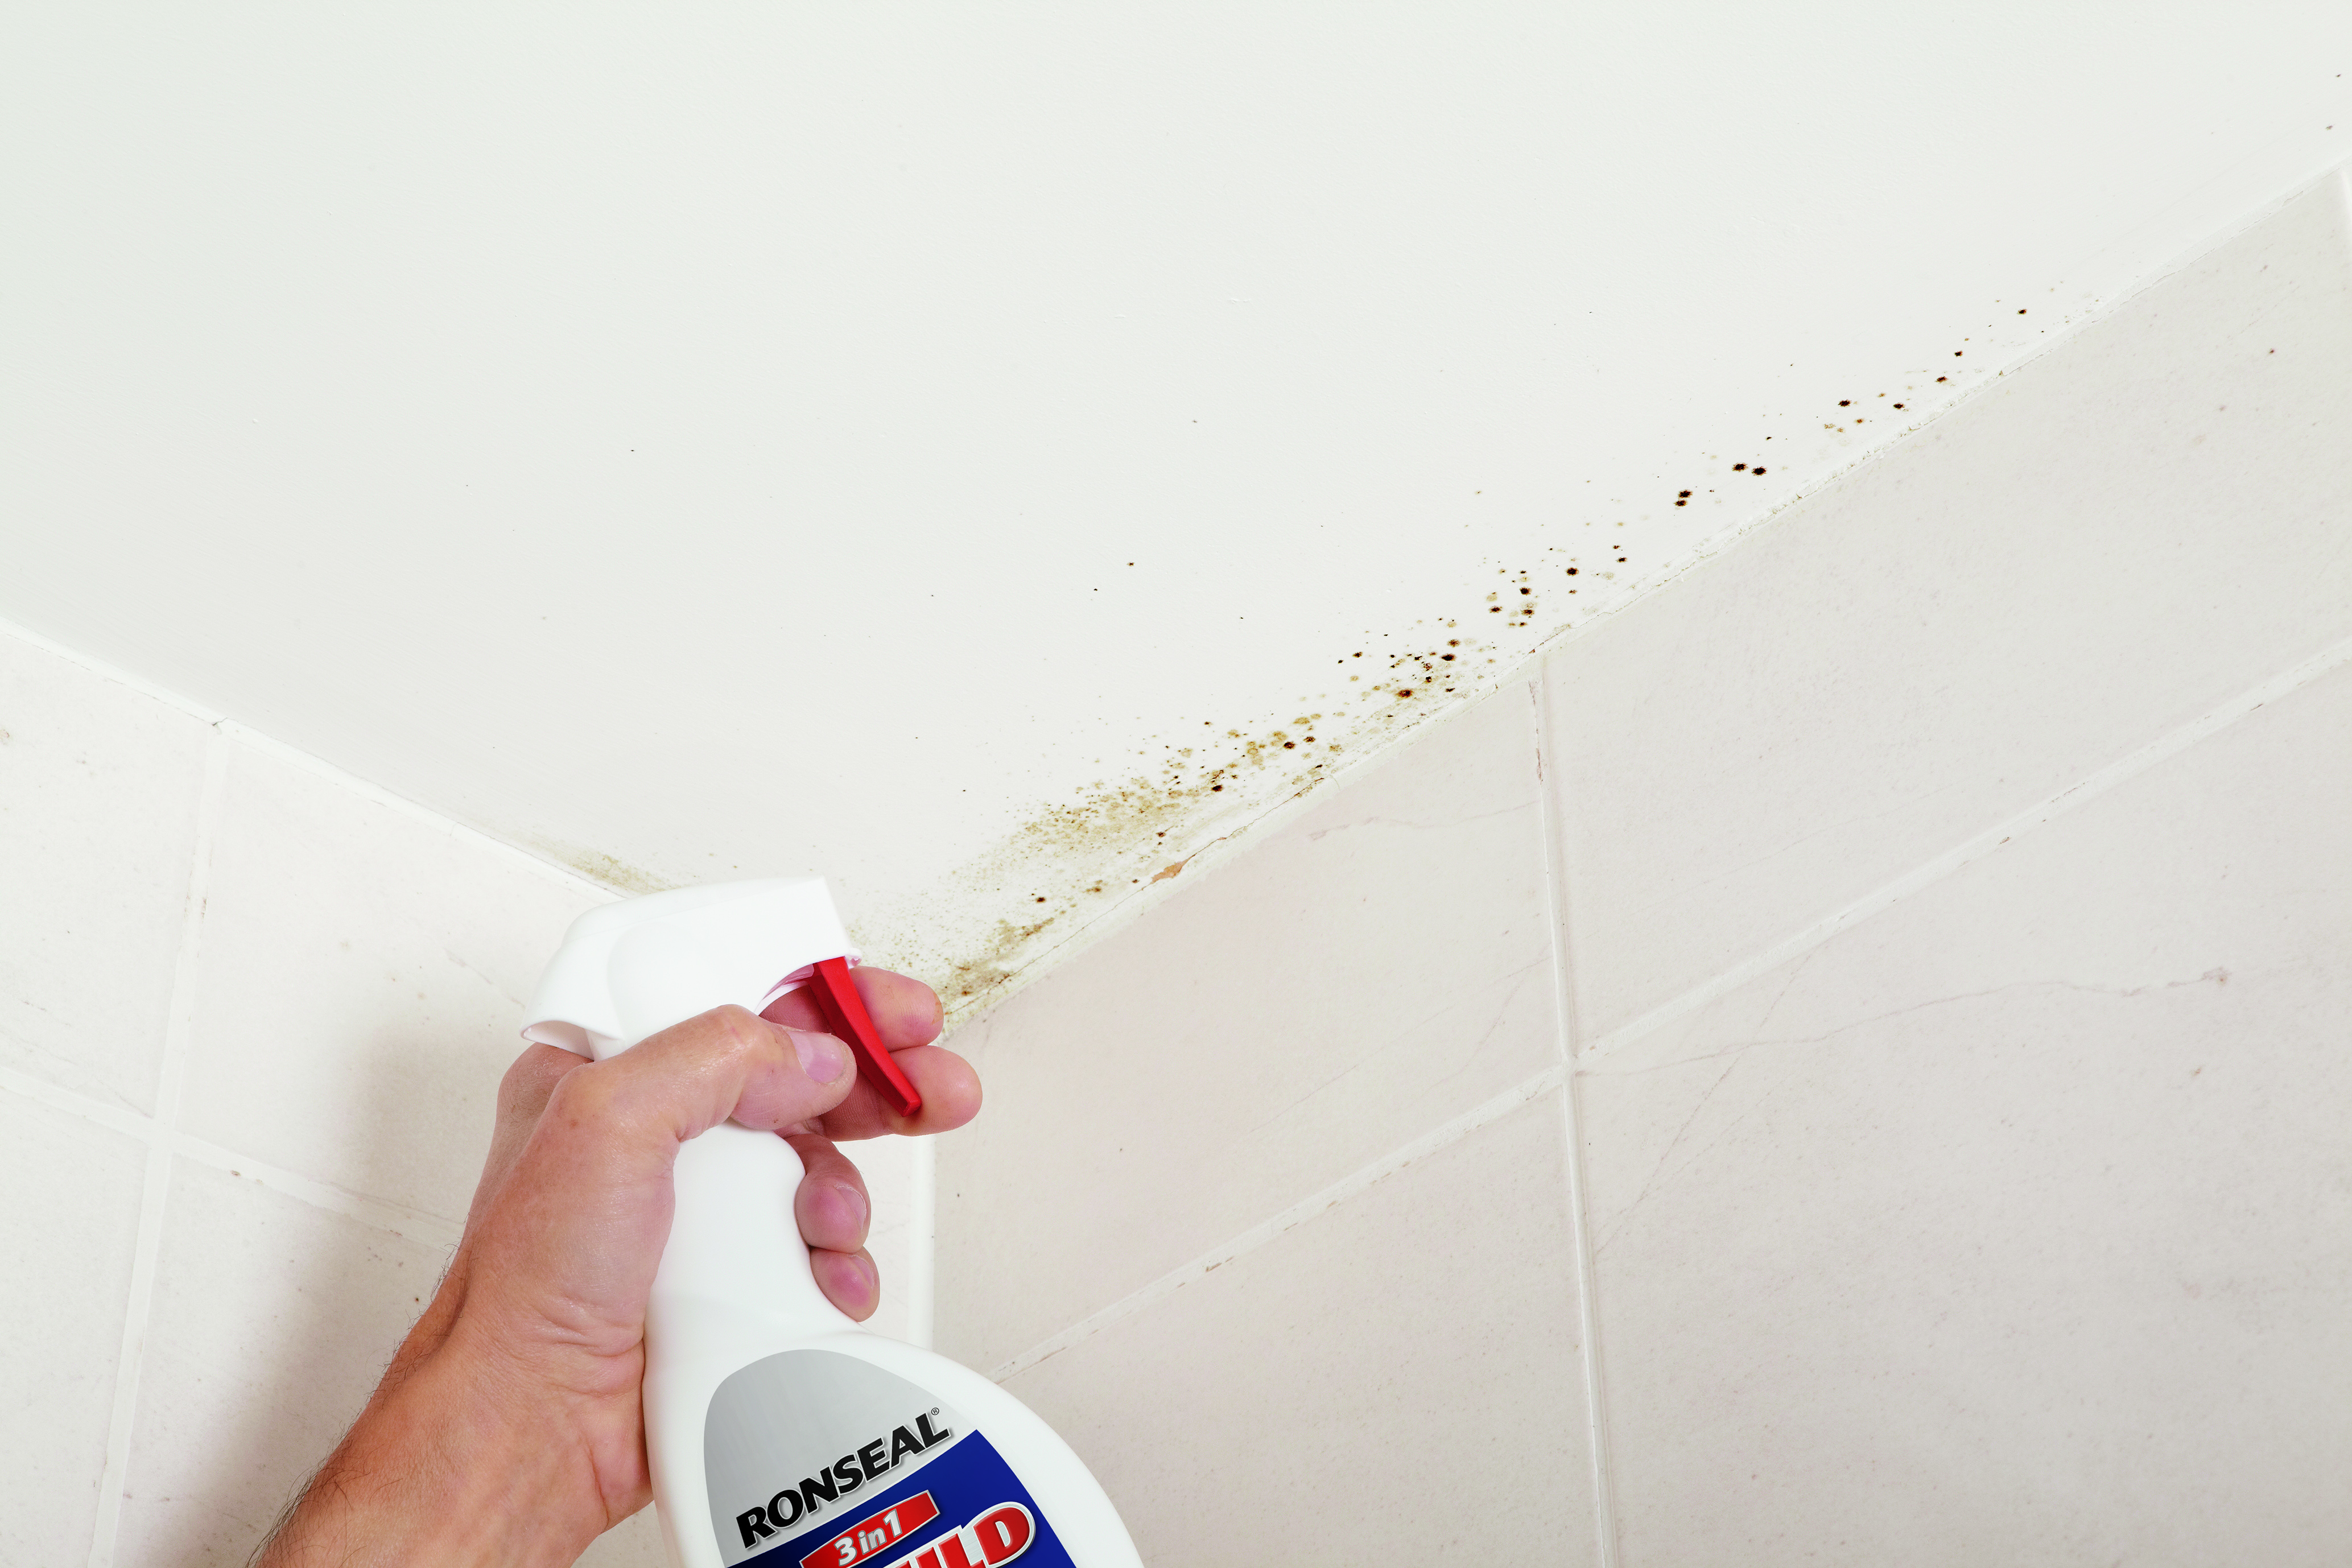
Use a diluted general purpose cleaner and a hard wire brush to give your shed a good scrubbing. Make sure you remove any excess debris, cobwebs, mud, mould or anything else that’s been attracted to your shed over the years. Make sure the wood is completely dry before you go over it with your paint.
2. Make it watertight
You won’t want to spend time painting the outside of your shed if it will be ruined by water. Use a wood filler to fill any cracks, gaps or holes to make sure your shed can stand even the wettest of British summers.
Make sure the filler is dry before you move on to the next step.
3. Smooth down the surfaces
If you’re painting an old shed, you’ll need to sand it to remove old and flaky paint. Wrap some sandpaper around a block and start sanding in the direction of the woodgrain to ensure you cover every bit of your shed and remove all the old paint.
4. Treat the wood
Treating your shed is essential if you want it to last a long time. Treatments help to keep wood healthy and can last for up to five years. This is a particularly important step if you’re planning on spending a lot of time in your shed, working or drinking!
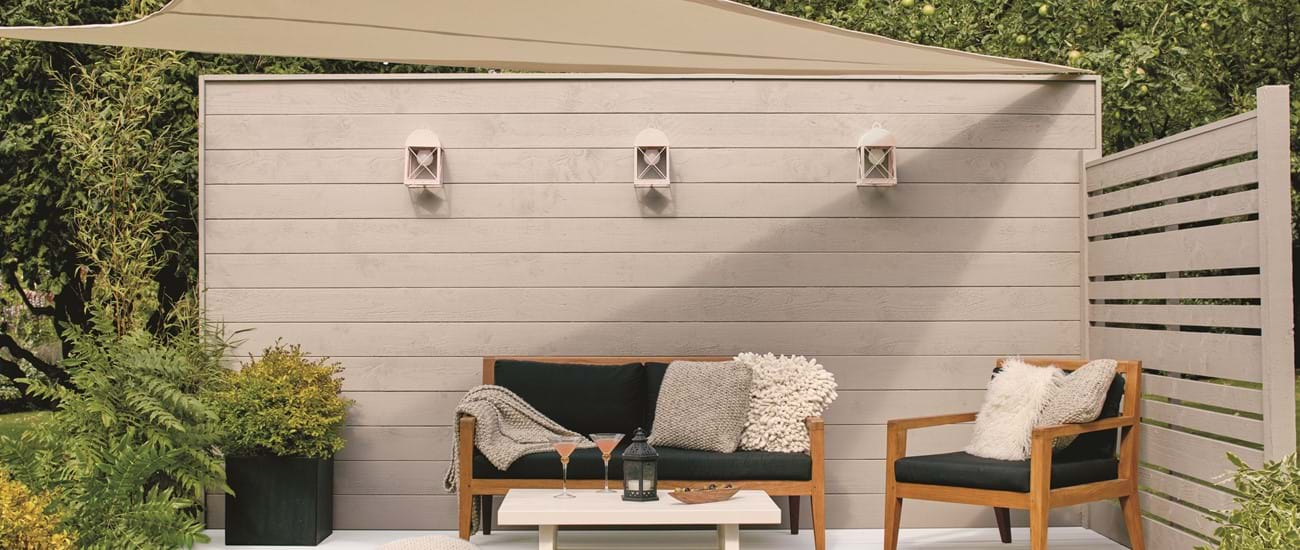
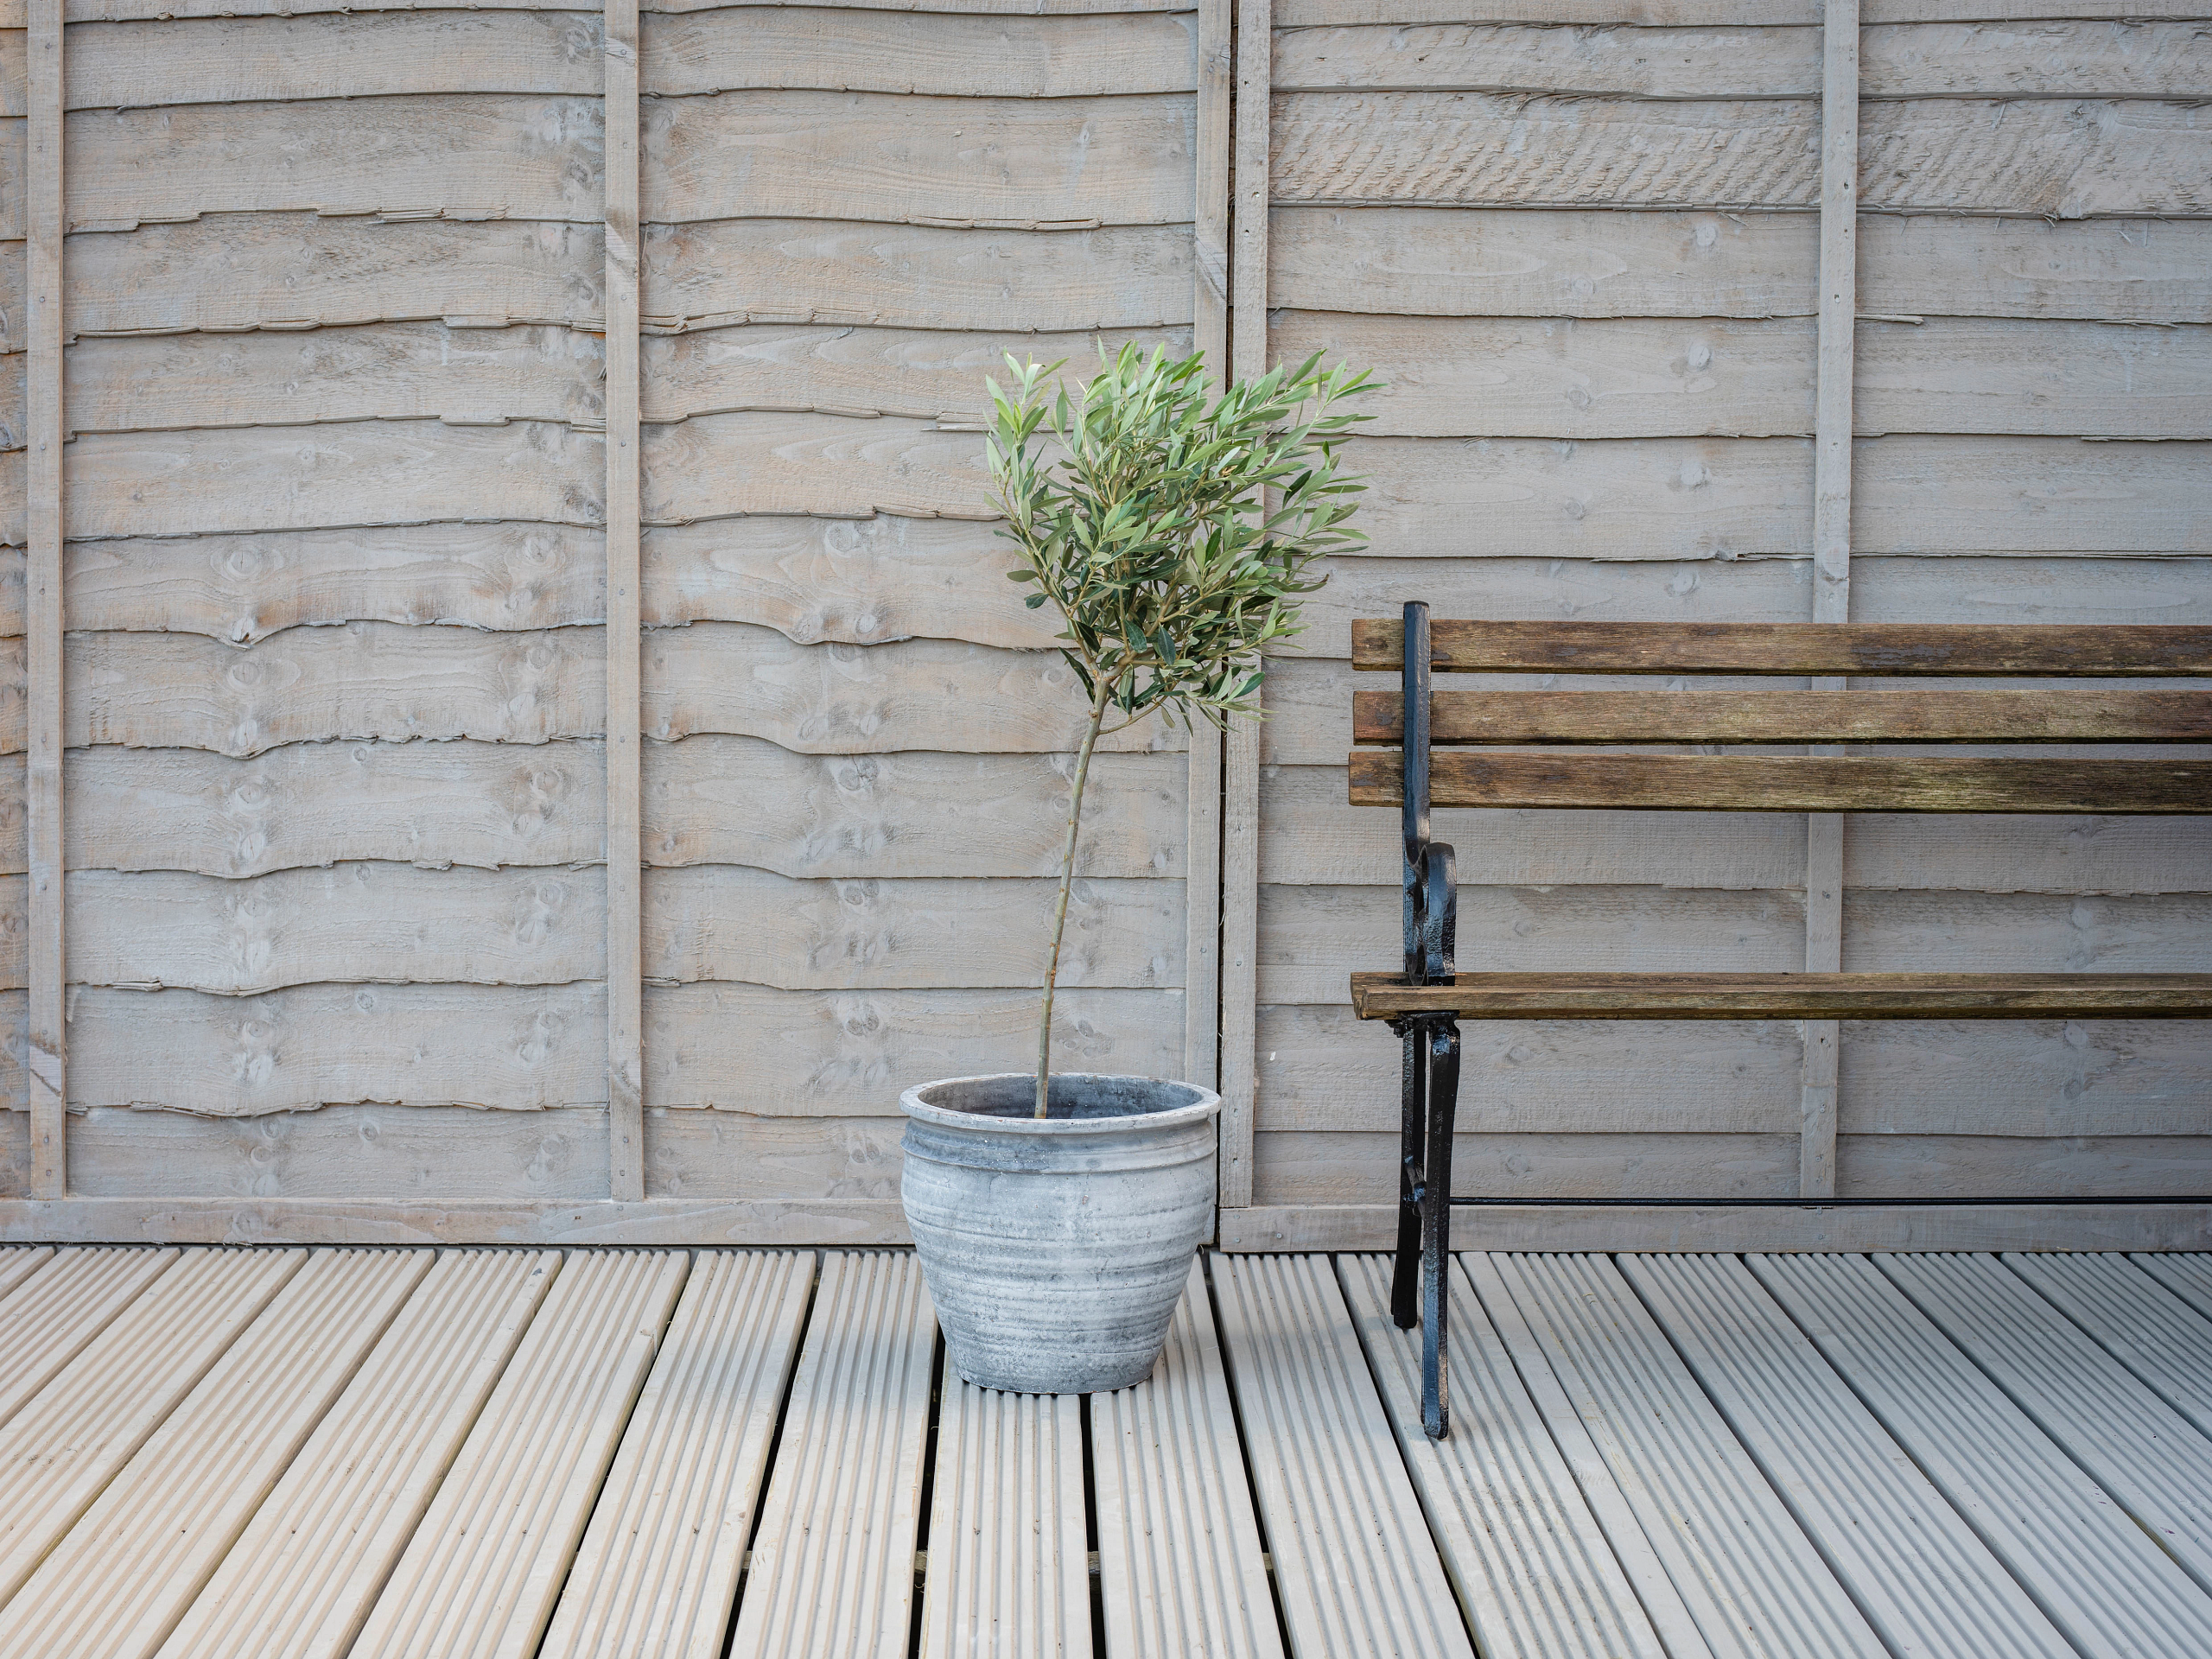
Our Shed and Fence treatments can be applied to your shed and come in an array of colours so you can kill two birds with one stone.
5. Paint your shed!
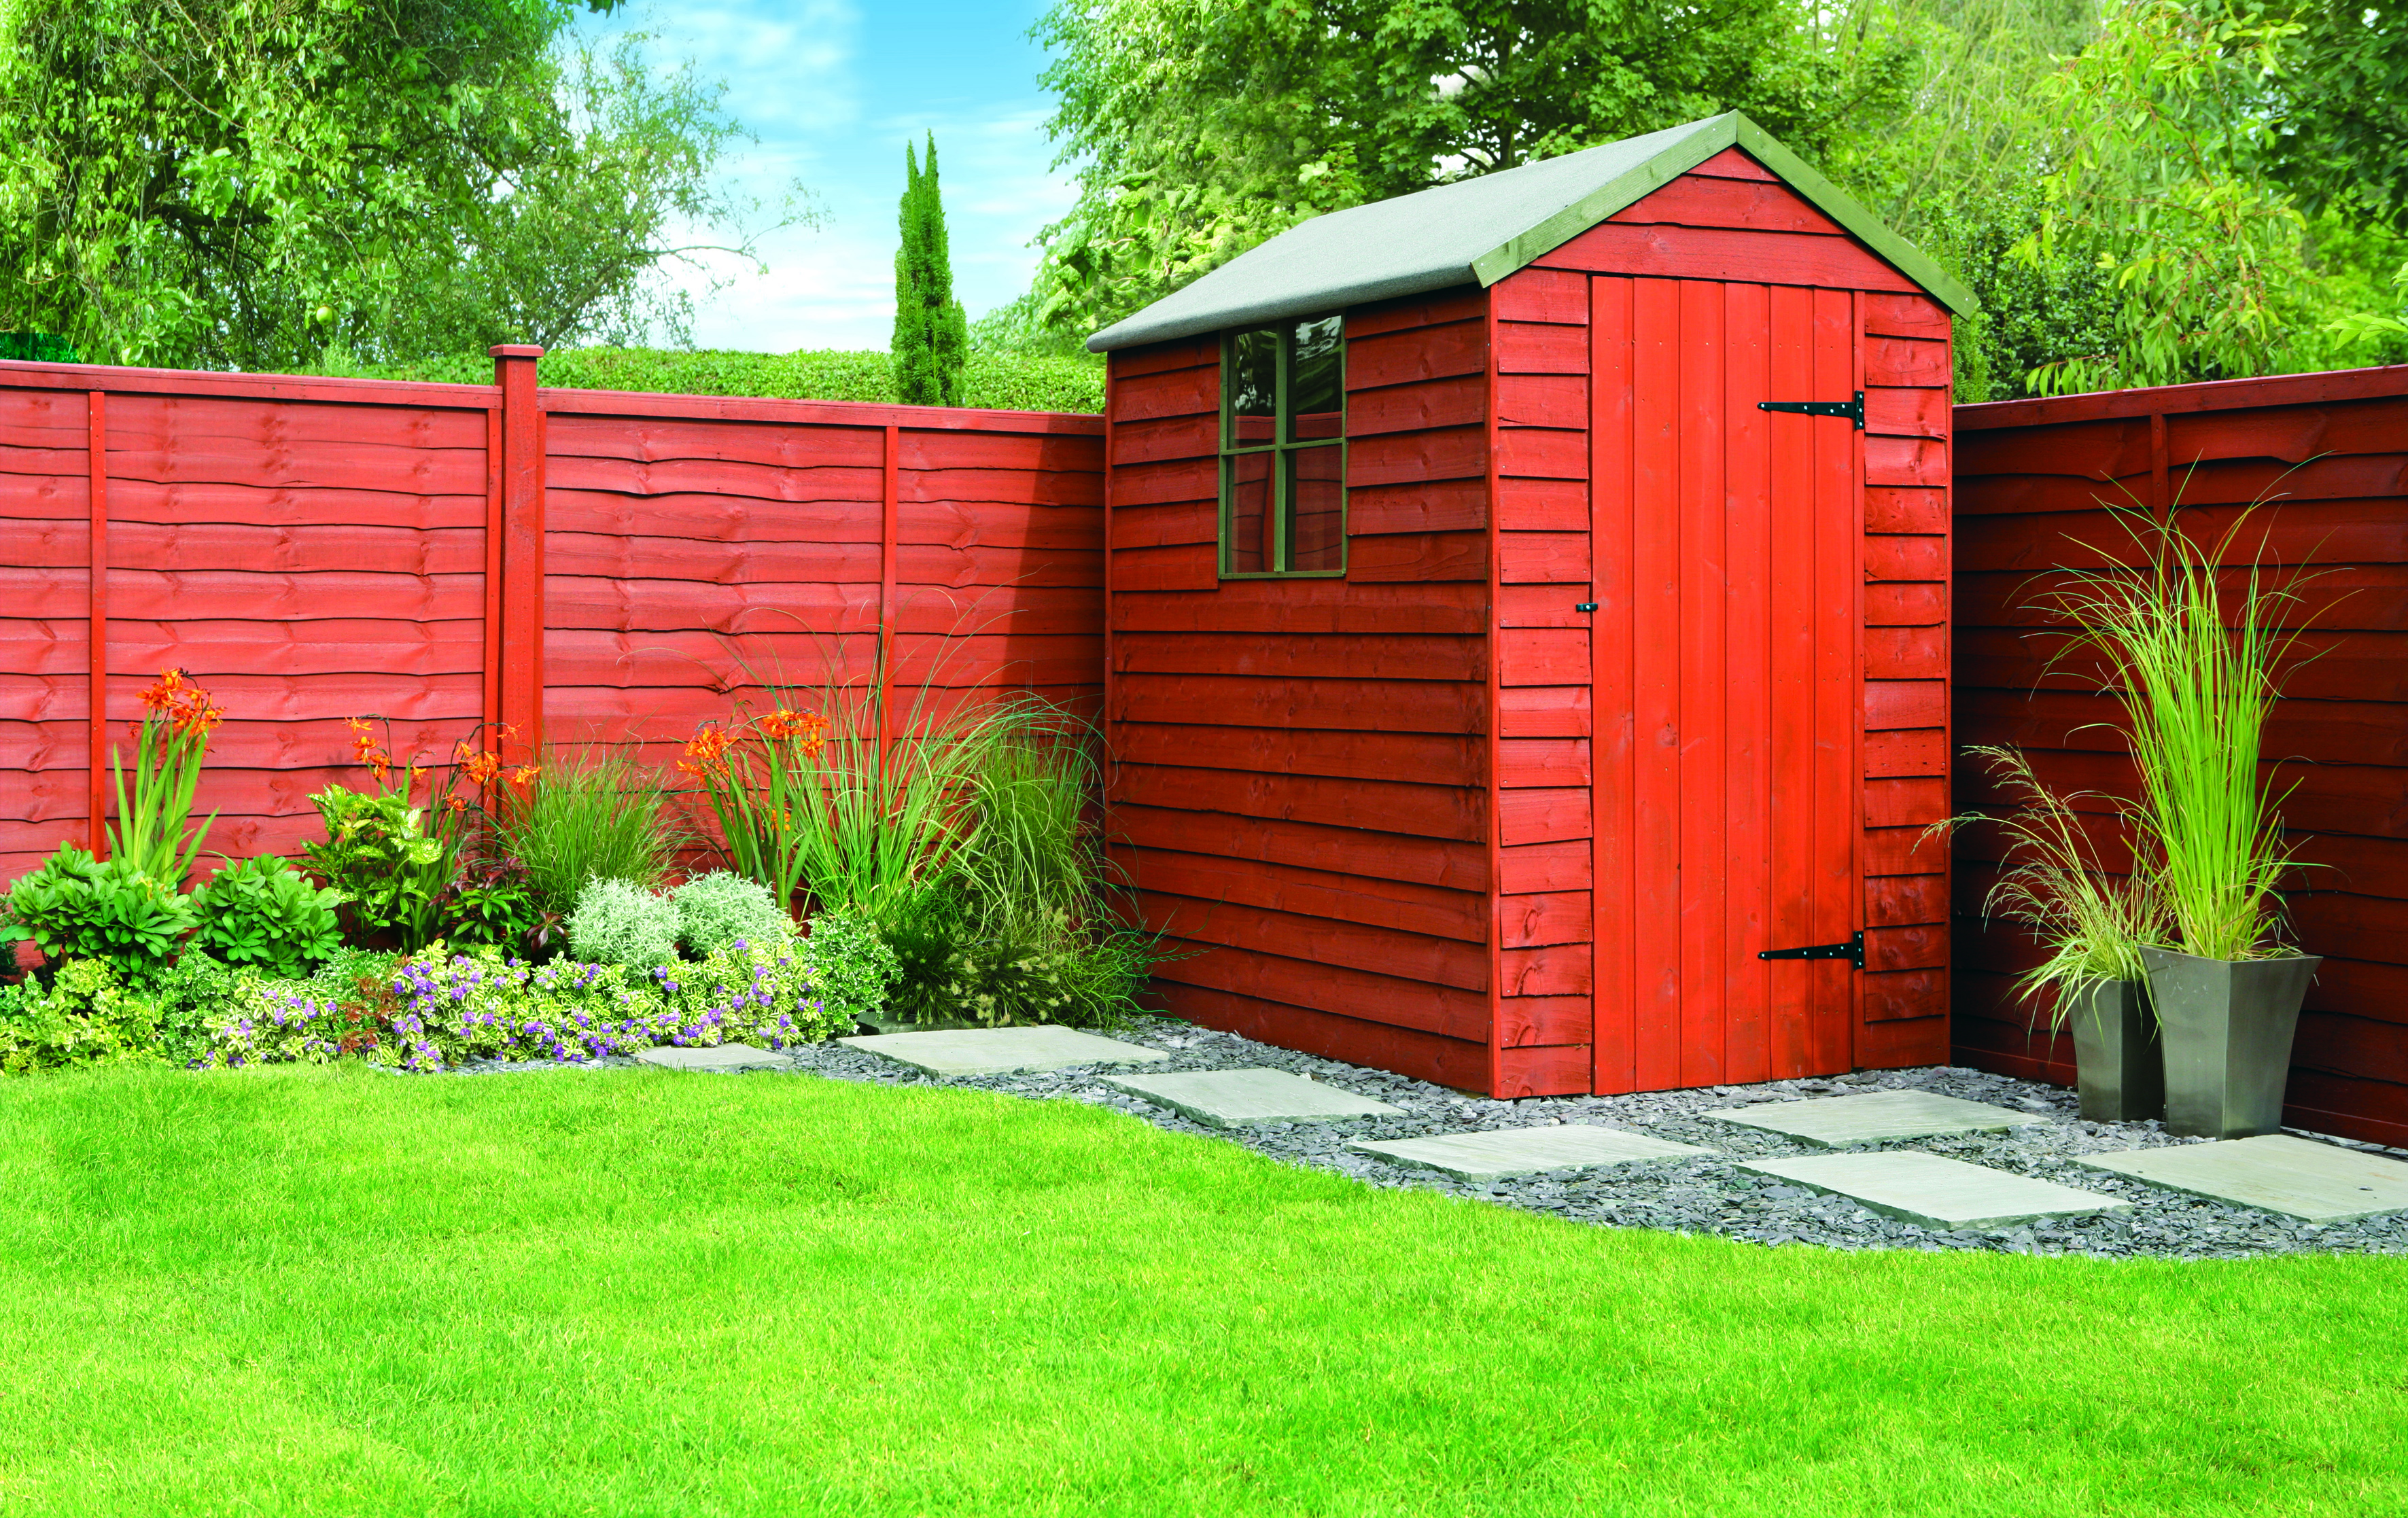
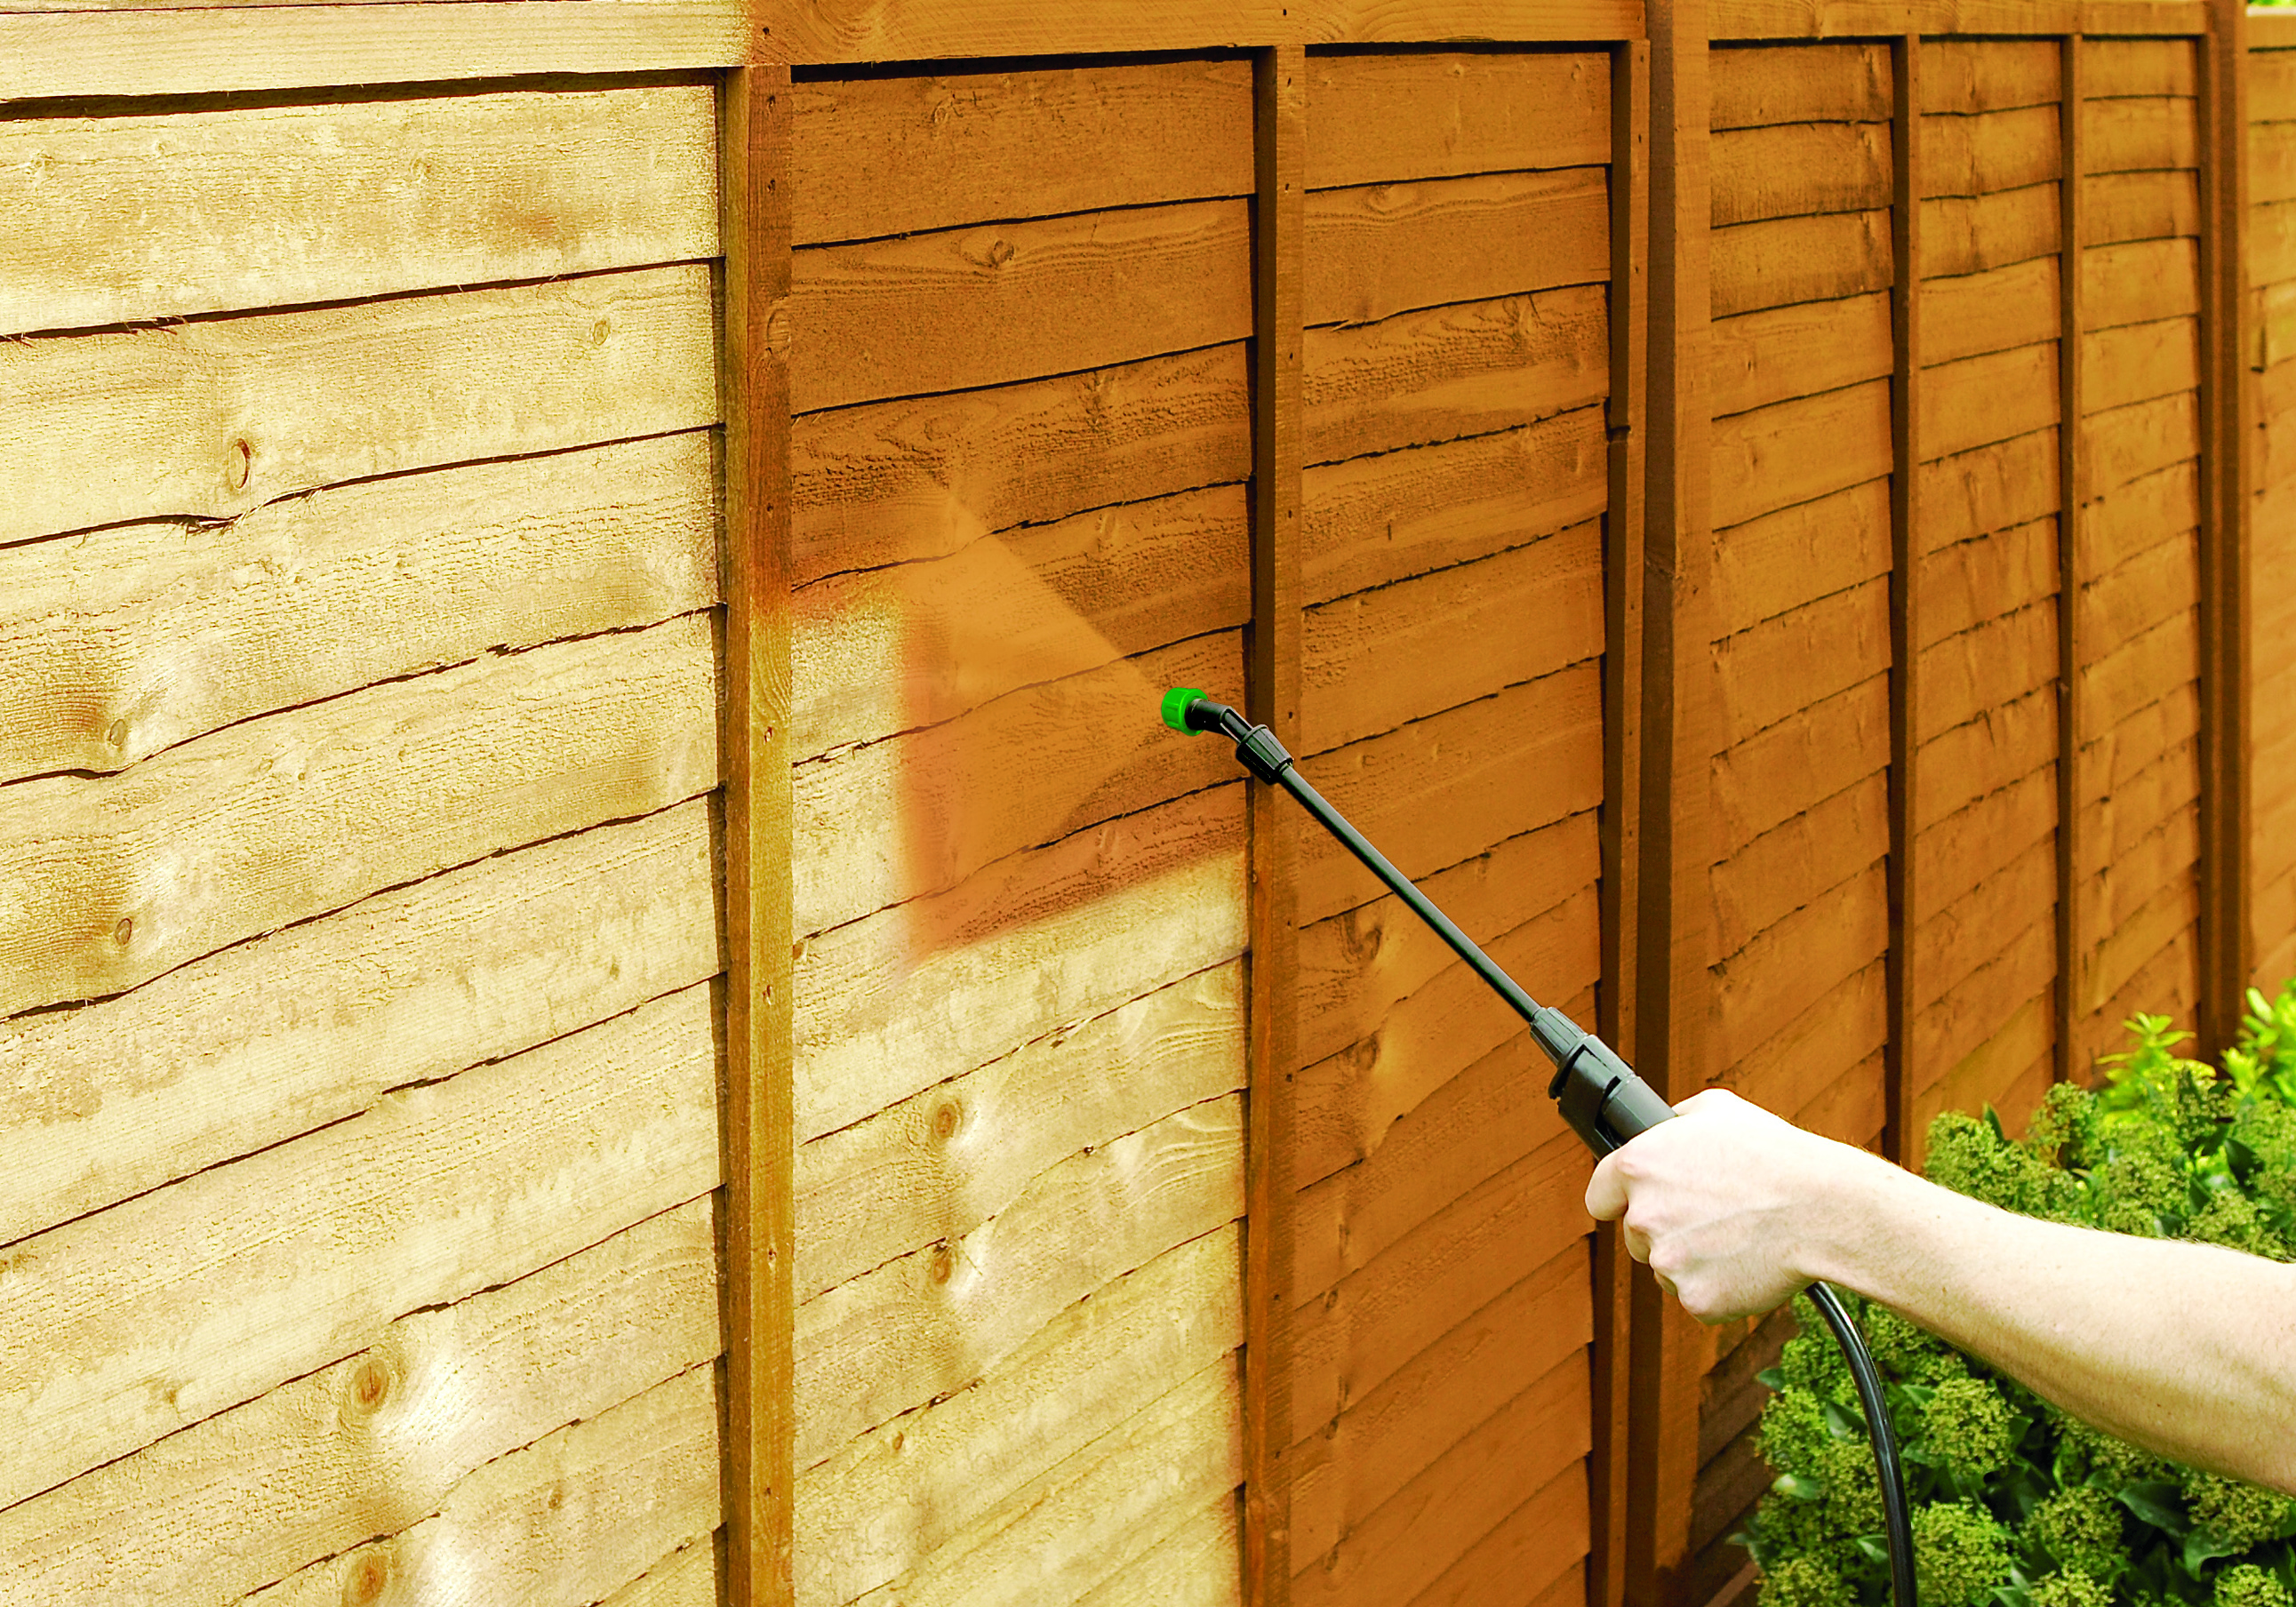
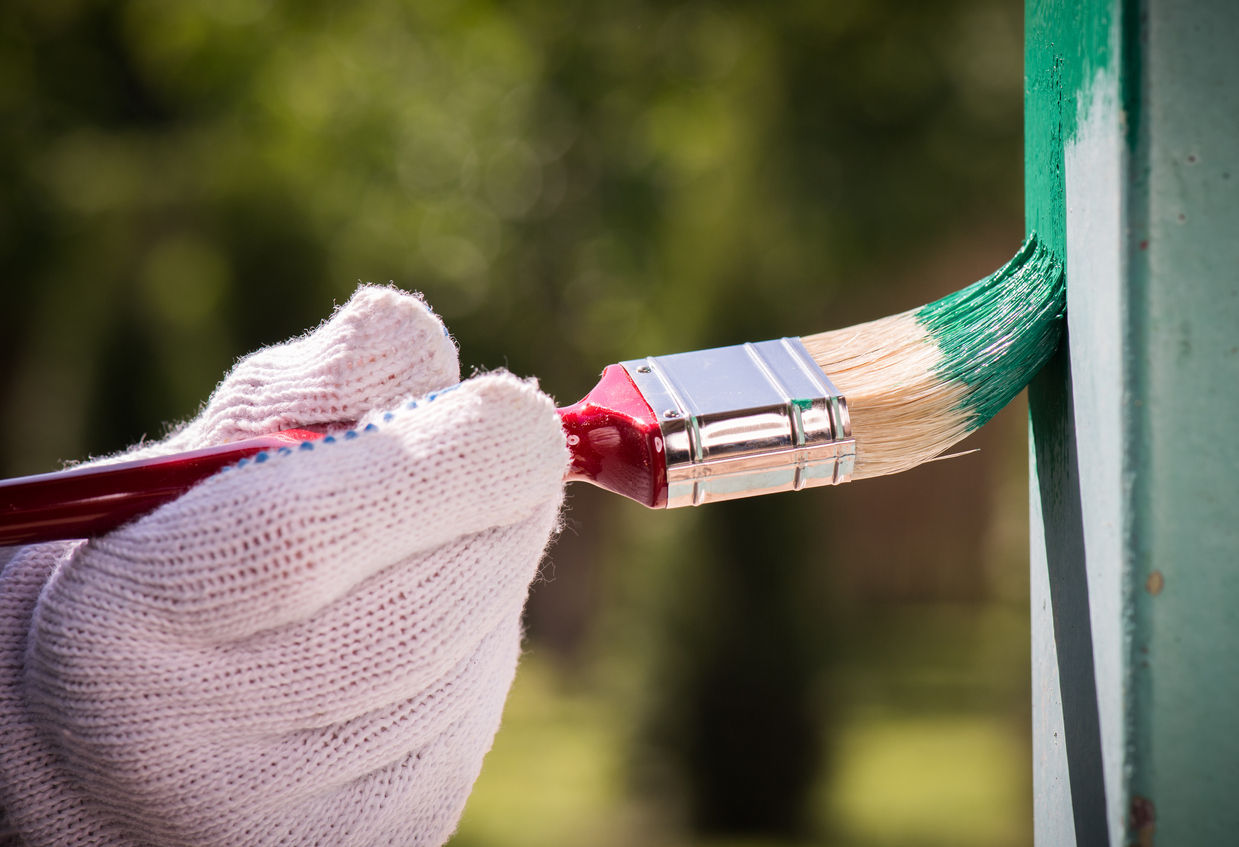
If you opted not to use a coloured treatment and fancy a different colour, now’s your chance to get painting with our Fence Life Plus range. A pump sprayer is definitely the quickest way to finish the job and can give you better accuracy.
Once your paint is dry, you can step back, admire your shed and put it to good use, whether that’s as an office, mini-pub or just a shed!
For our full range, take a look at our shed and fence treatments page.
