Project overview
How to use the pouch
Step 1: Empty Pouch into a Bucket
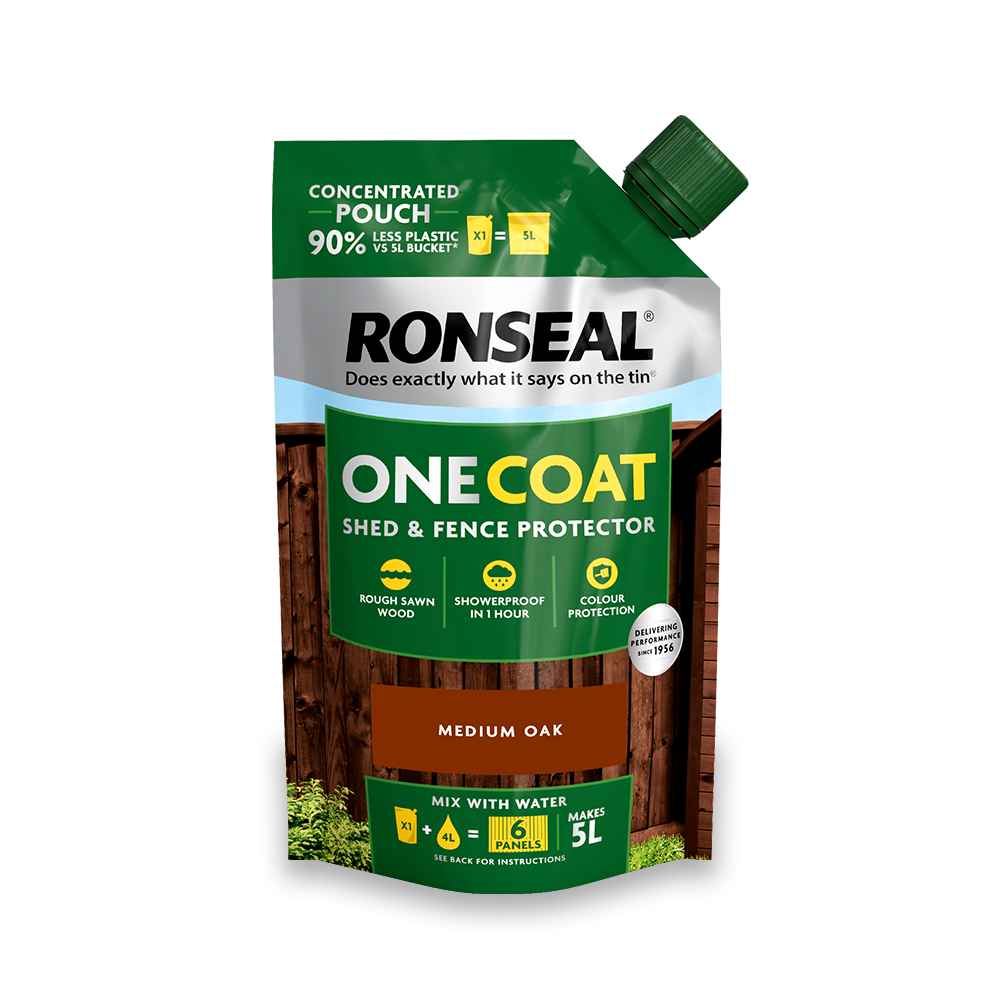
Open the pouch containing the shed & fence paint concentrate.
Empty the entire contents of the pouch into either a clean bucket or recycle an empty bucket of One Coat Shed & Fence Protector to minimise plastic waste.
Refill the now-empty pouch with 1 litre of water.
Re-seal the pouch tightly and shake it vigorously to ensure any remaining mixture is dissolved into the water.
Step 2: Pour 1 Litre of Water from the Pouch into the Bucket
Begin gradually pouring the 1 litre of water from the pouch into the bucket, similar to how you would add ingredients when making a cake. This helps to mix your own paint while preventing clumping and ensures a smooth mixture.
Once all the water is in the bucket, mix the contents briskly for 1 minute. Use a sturdy mixing tool to ensure everything is well combined.
Step 3: Add 3 More Litres of Water by Repeating Each Step, Three Times
Repeat the process of filling the pouch with 1 litre of water and gradually pouring it into the bucket.
After each addition, mix the contents thoroughly, scraping the bottom of the bucket to ensure no mixture is left unmixed.
Ensure the mixture is consistent and smooth before adding the next litre of water.
Applying your paint
Once your fence and shed paint is mixed, you can apply it easily using either a sprayer or a paintbrush. In general, using a sprayer is quicker and better for large areas, however, paintbrush application tends to be more precise and cost-effective. Either way you’ll only need one coat to achieve long-lasting outdoor wood protection.
Here’s our guide to prepping, applying and cleaning up after One Coat Shed & Fence Protector:
Preparation
Prepping your wood for painting is just as important as the application to guarantee the best results.
-
Protect your lawn or patio from paint and debris using an old sheet
-
Repair any loose or damaged panels on your shed or fence before painting
-
If you're applying fence or shed paint to damp wood, make sure the wood has been drying for at least 5 hours before painting.
-
Pick a warm, dry day (above 10°C) to paint and avoid rain, heavy wind or hot temperatures.
-
Clean the wood with a stiff brush to get rid of any dirt.
-
Sand down any old, flaking paint.
-
Apply a primer or wood preserver if needed
-
Once mixed, stir your paint in the bucket with a wooden stick or stirrer for a few minutes.
Application using a sprayer
-
Always read the instructions on your specific device
-
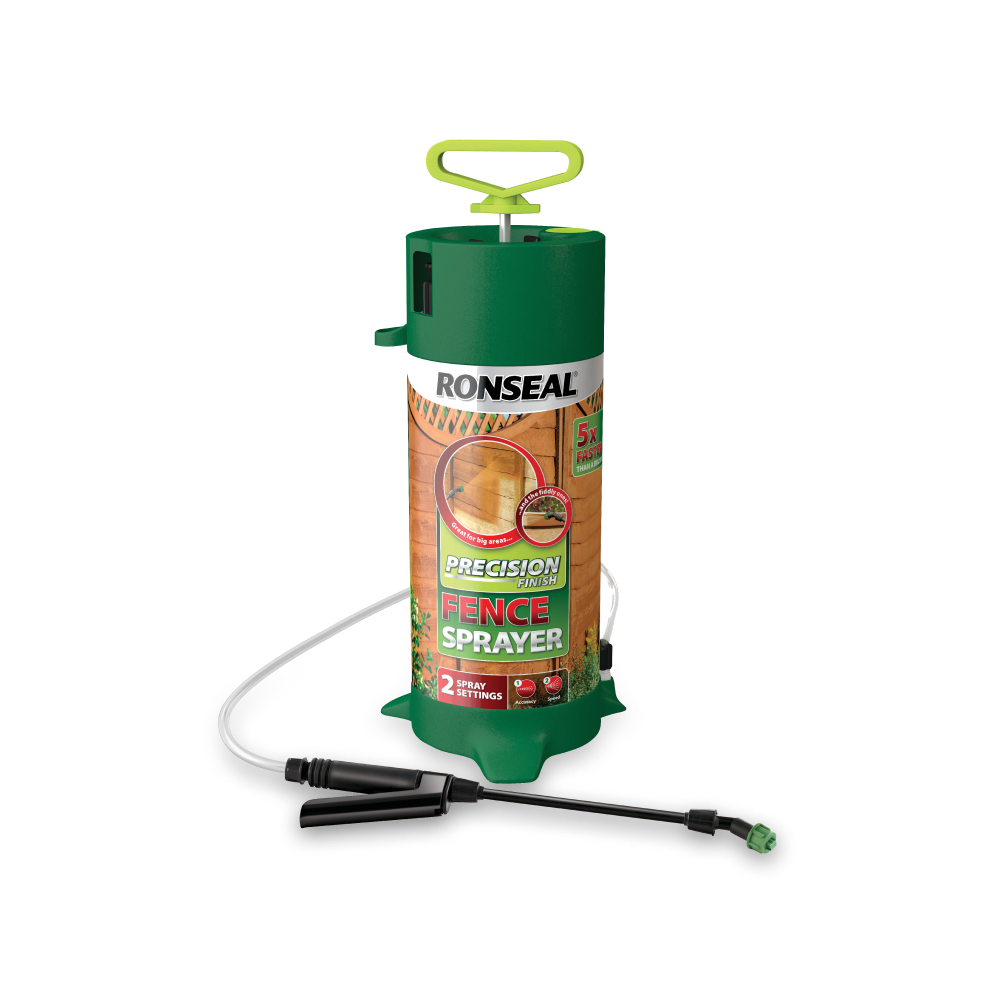
Pour your paint into the sprayer’s tank and secure it in
-
Pump it up or turn it on
-
Have a quick test on a scrap piece of wood
-
Hold the nozzle around 25cm away from the surface when spraying
-
Use long, sweeping, horizontal arm movements to spray for an even finish.
-
Start along the full width of the top shed panel, dropping down to repeat the process to lower panels.
-
Overlap each pass by 50% for an even coverage.
-
Only one coat is needed for full protection
-
After one hour, it will be 100% showerproof. It takes 4 hours to dry fully.
Application using a paintbrush
-
Add a thick, even coat of fence & shed paint on your brush.
-
Apply sweeping brush strokes across the panel in the same direction as the grain.
-
Always work from the top to the bottom to avoid drips.
-
Don’t overload your paint brush
-
Use a dabbing action for tops of posts or corners
-
Only one coat is needed for full protection
-
After one hour, it will be 100% showerproof. It takes 4 hours to dry fully.
-
If your wood is weathered, you may need to apply a second coat.
Touch ups & cleaning
Once you’ve finished and your woodwork is dry, you might have some touch-ups to do. Inspect your work for any uneven patches or missed spots, and touch up with shed paint or fence paint as needed.
Allow your shed or fence to dry completely before placing any furniture or decor back near it
To clean your brush, remove as much paint from it as you can and clean it with an old cloth and warm, soapy water.
If you used a sprayer, check the user guide for specific cleaning instructions.
Never pour leftover One Coat Fence & Shed Protector Concentrate down the drain - contact your local council to find out safe ways to dispose of it.
What are the benefits of the pouch?
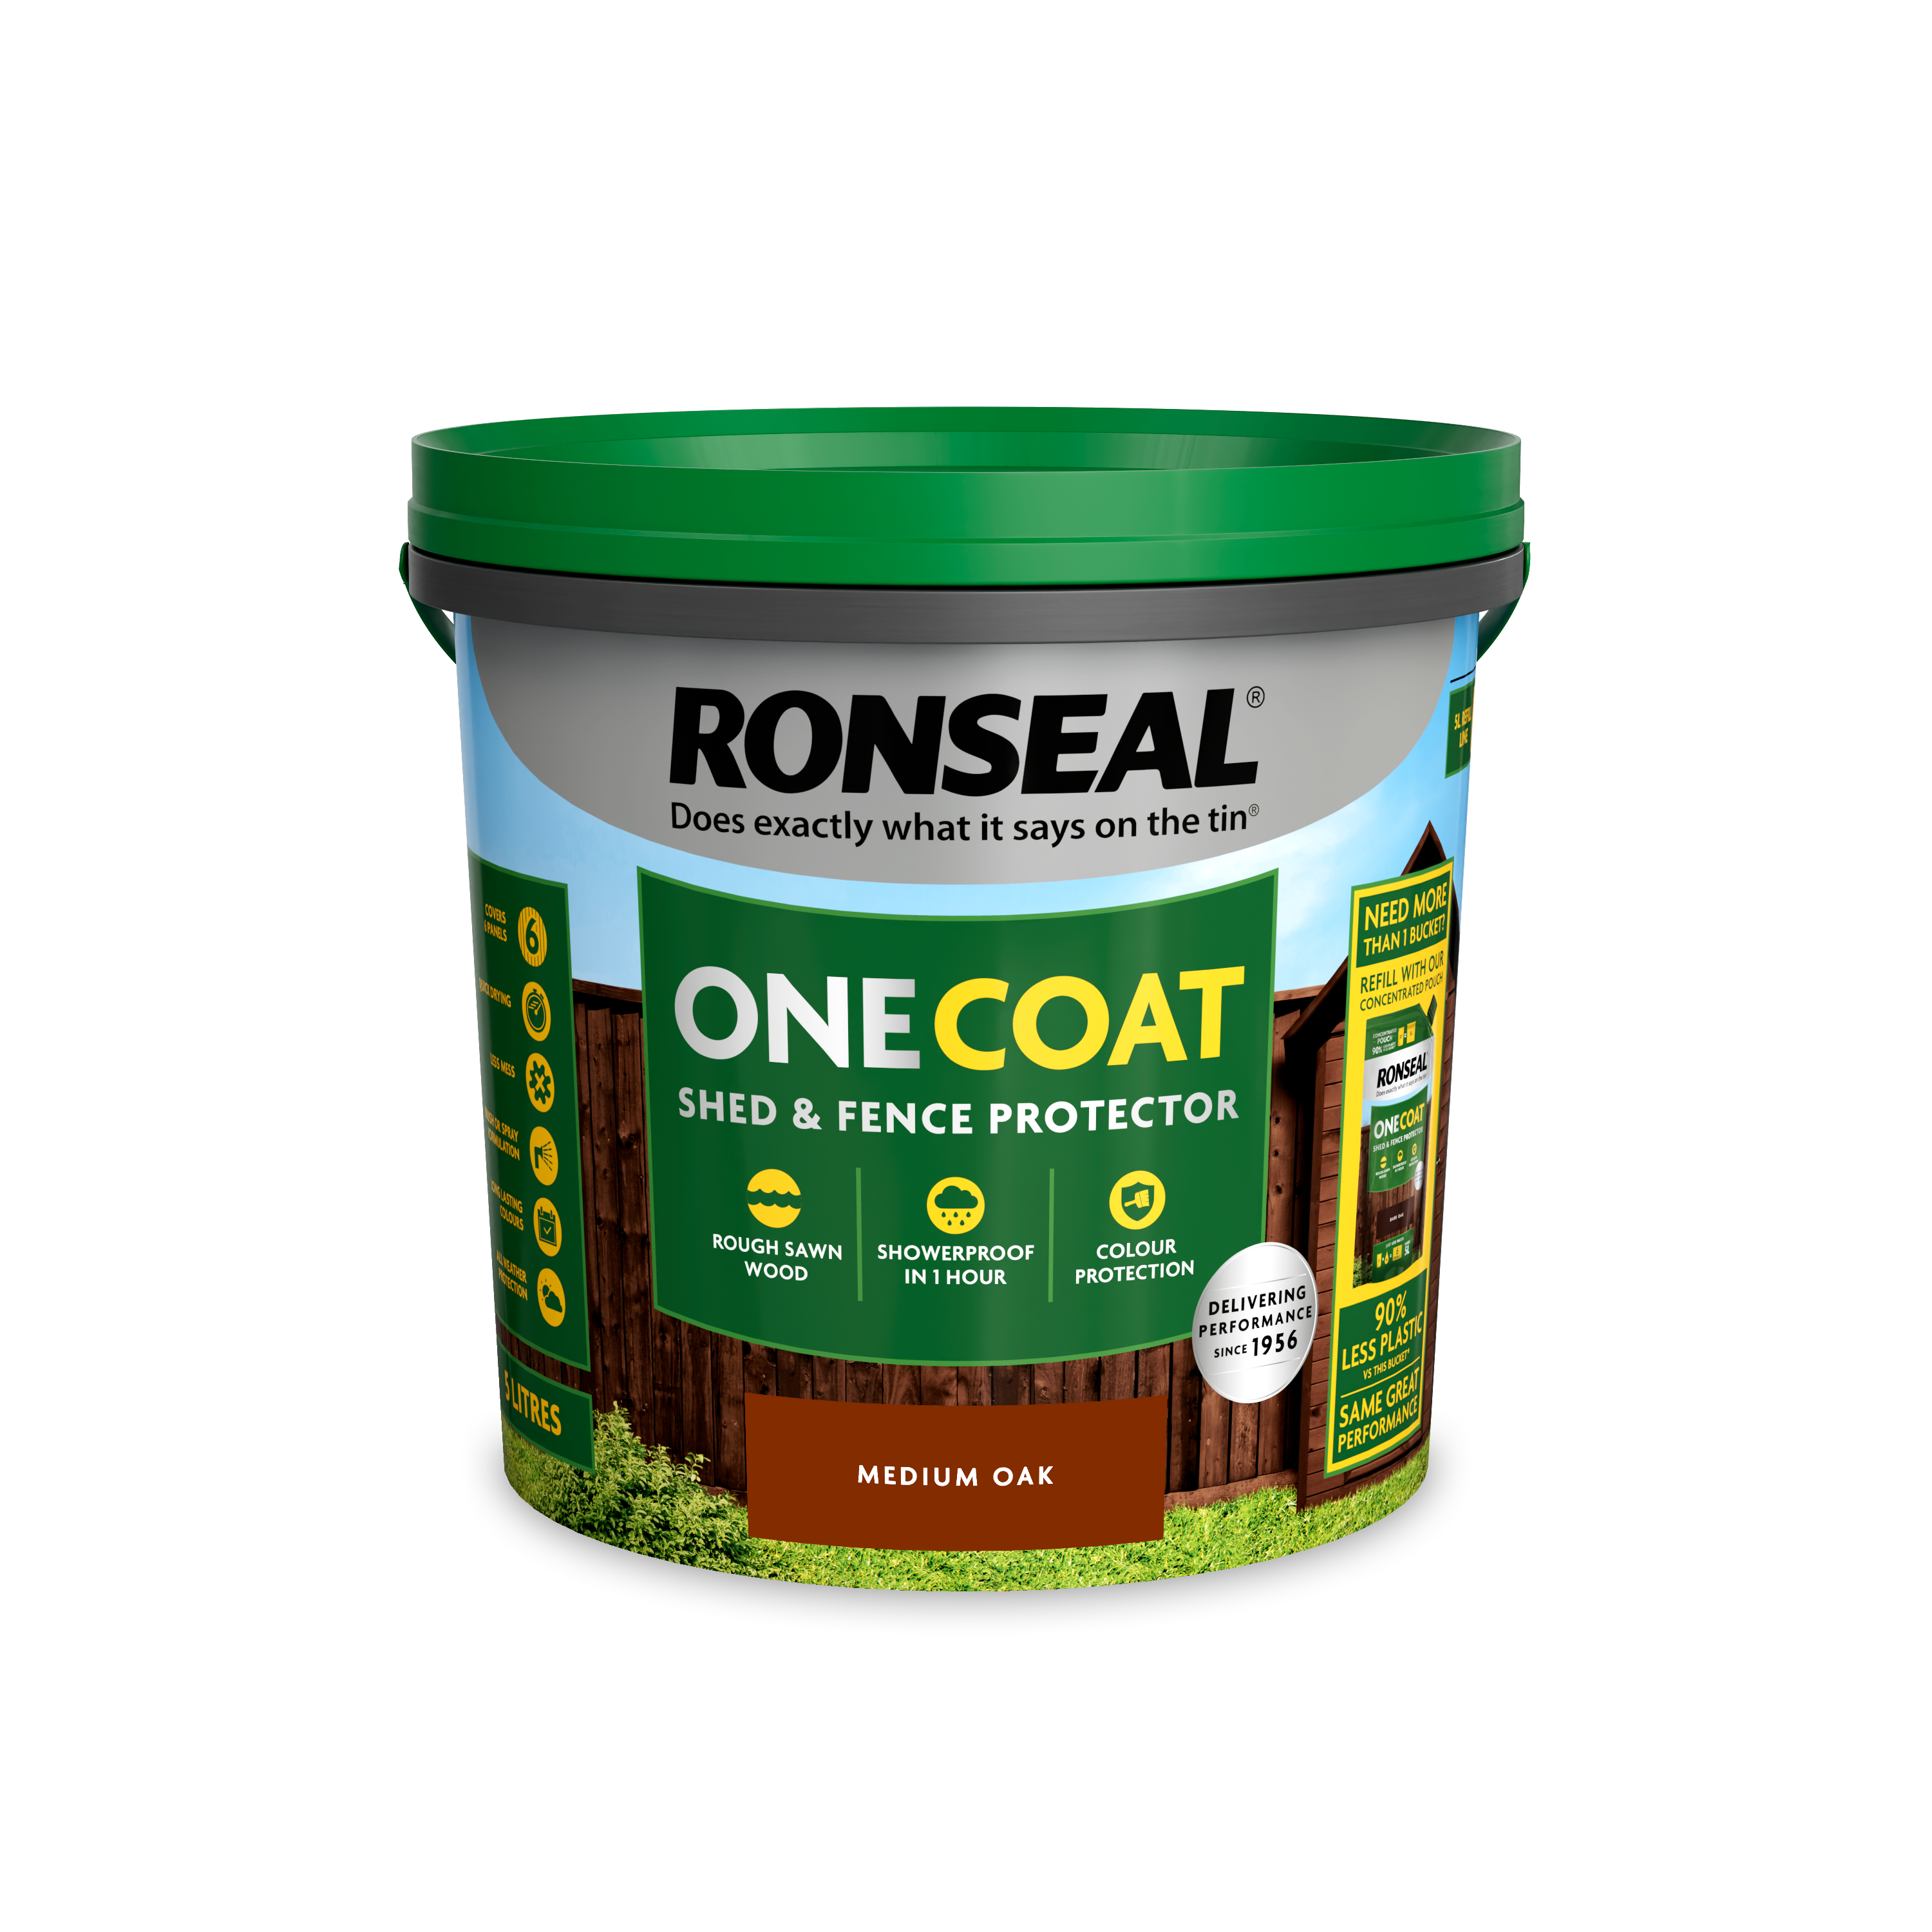
The One Coat Shed & Fence Protector Pouch offers easy, long-lasting outdoor wood protection with just one coat.
It removes the need to buy multiple heavy buckets of shed or fence paint, so you can just buy one bucket and replace your additional buckets with pouches.
It's easy to mix your own paint, and it can be brushed or sprayed on in one coat. It’ll stand up to rain, frost, snow and sun, meaning you'll get lasting colour and protection for 2 years.
It’s cost effective and minimises plastic waste - Just one 950ml pouch makes 5L of Shed & Fence Protector - 90% less plastic vs a 5L Bucket.
It’s also available in 7 earthy colours to match your home.


